Art in the Spring
Art in the Spring
Do you remember what the forest looked like in Disney’s Bambi? I barely remember the impression of Bambi as a fawn and the baby rabbits and birds flying around. My front yard looks like that in the spring along with the wild pink azaleas, purple trillium, a few red camellias still blooming. The wild dogwoods are about to burst forth with the red bud trees. The ground cover is still a bit yellow green.
Now is a great time to go outside and draw or paint if you don’t mind the pollen!
The Impressionists were the first artists to venture outside to paint. It’s called pleine aire painting. Some of the first pleine artists here in the United States were The Hudson River painters who painted beautiful outdoor scenes, and later on the Ash Can or Trash Can group of artists who painted more realistic outdoor scenes.
When artists first go outside to paint, they see so much they need to narrow their view. A device called a view finder is easily made from a 3”x5” index card, fold in half, and cut a small square out- about 2”x2”, unfold. Hold the card up and look through the hole to find an interesting view.
Supplies needed for outside drawing or painting:
A board large enough to fit your lap
A sketchbook- I like 9×12 spiral backed ones
Or small watercolor paper sketchbook
Pencils, sharpeners, erasers Or charcoal
Watercolor pencils with a cup
Or a travel watercolor box with paintbrush
Bottled water
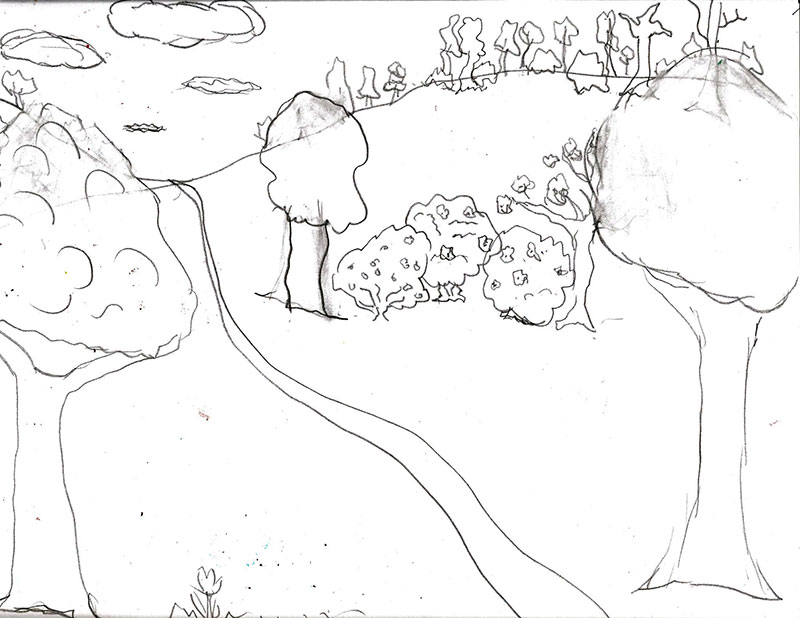
After looking through the view finder and finding an interesting view, lightly draw the horizon line or a line to divide the land from the sky. It doesn’t have to be a straight line. It could be a hill or mountains. The line can also be painted with a very light yellow.
Next draw the far away objects. These can also be painted with light cool colors (more water than paint).
Draw the near objects a little larger, overlapping and erasing if necessary. These can be painted a little brighter ( a bit more paint than water).
Lastly draw close up objects near the bottom of the paper and larger than the near objects, overlapping and erasing when needed. These are painted even brighter and warmer with more paint than water.
Have fun being a pleine aire painter! For more lessons on painting with watercolors and creating landscapes, check out my store at www.teacherspayteachers.com/store/Gena-Mcwilliams. Thanks again, Mizz Mac