Easy Jack O’Lanterns
One rainy afternoon last week my grandchildren were at my house. Since I had planned on making examples for a jack o’lantern art project for my store on Teachers Pay Teachers, I had art supplies ready to make the art project.
The supplies are simple Styrofoam balls from Walmart, Crayola kids paint (washable tempera), and Apply Barrel black craft paint that I had previously purchased and green chenille stems.
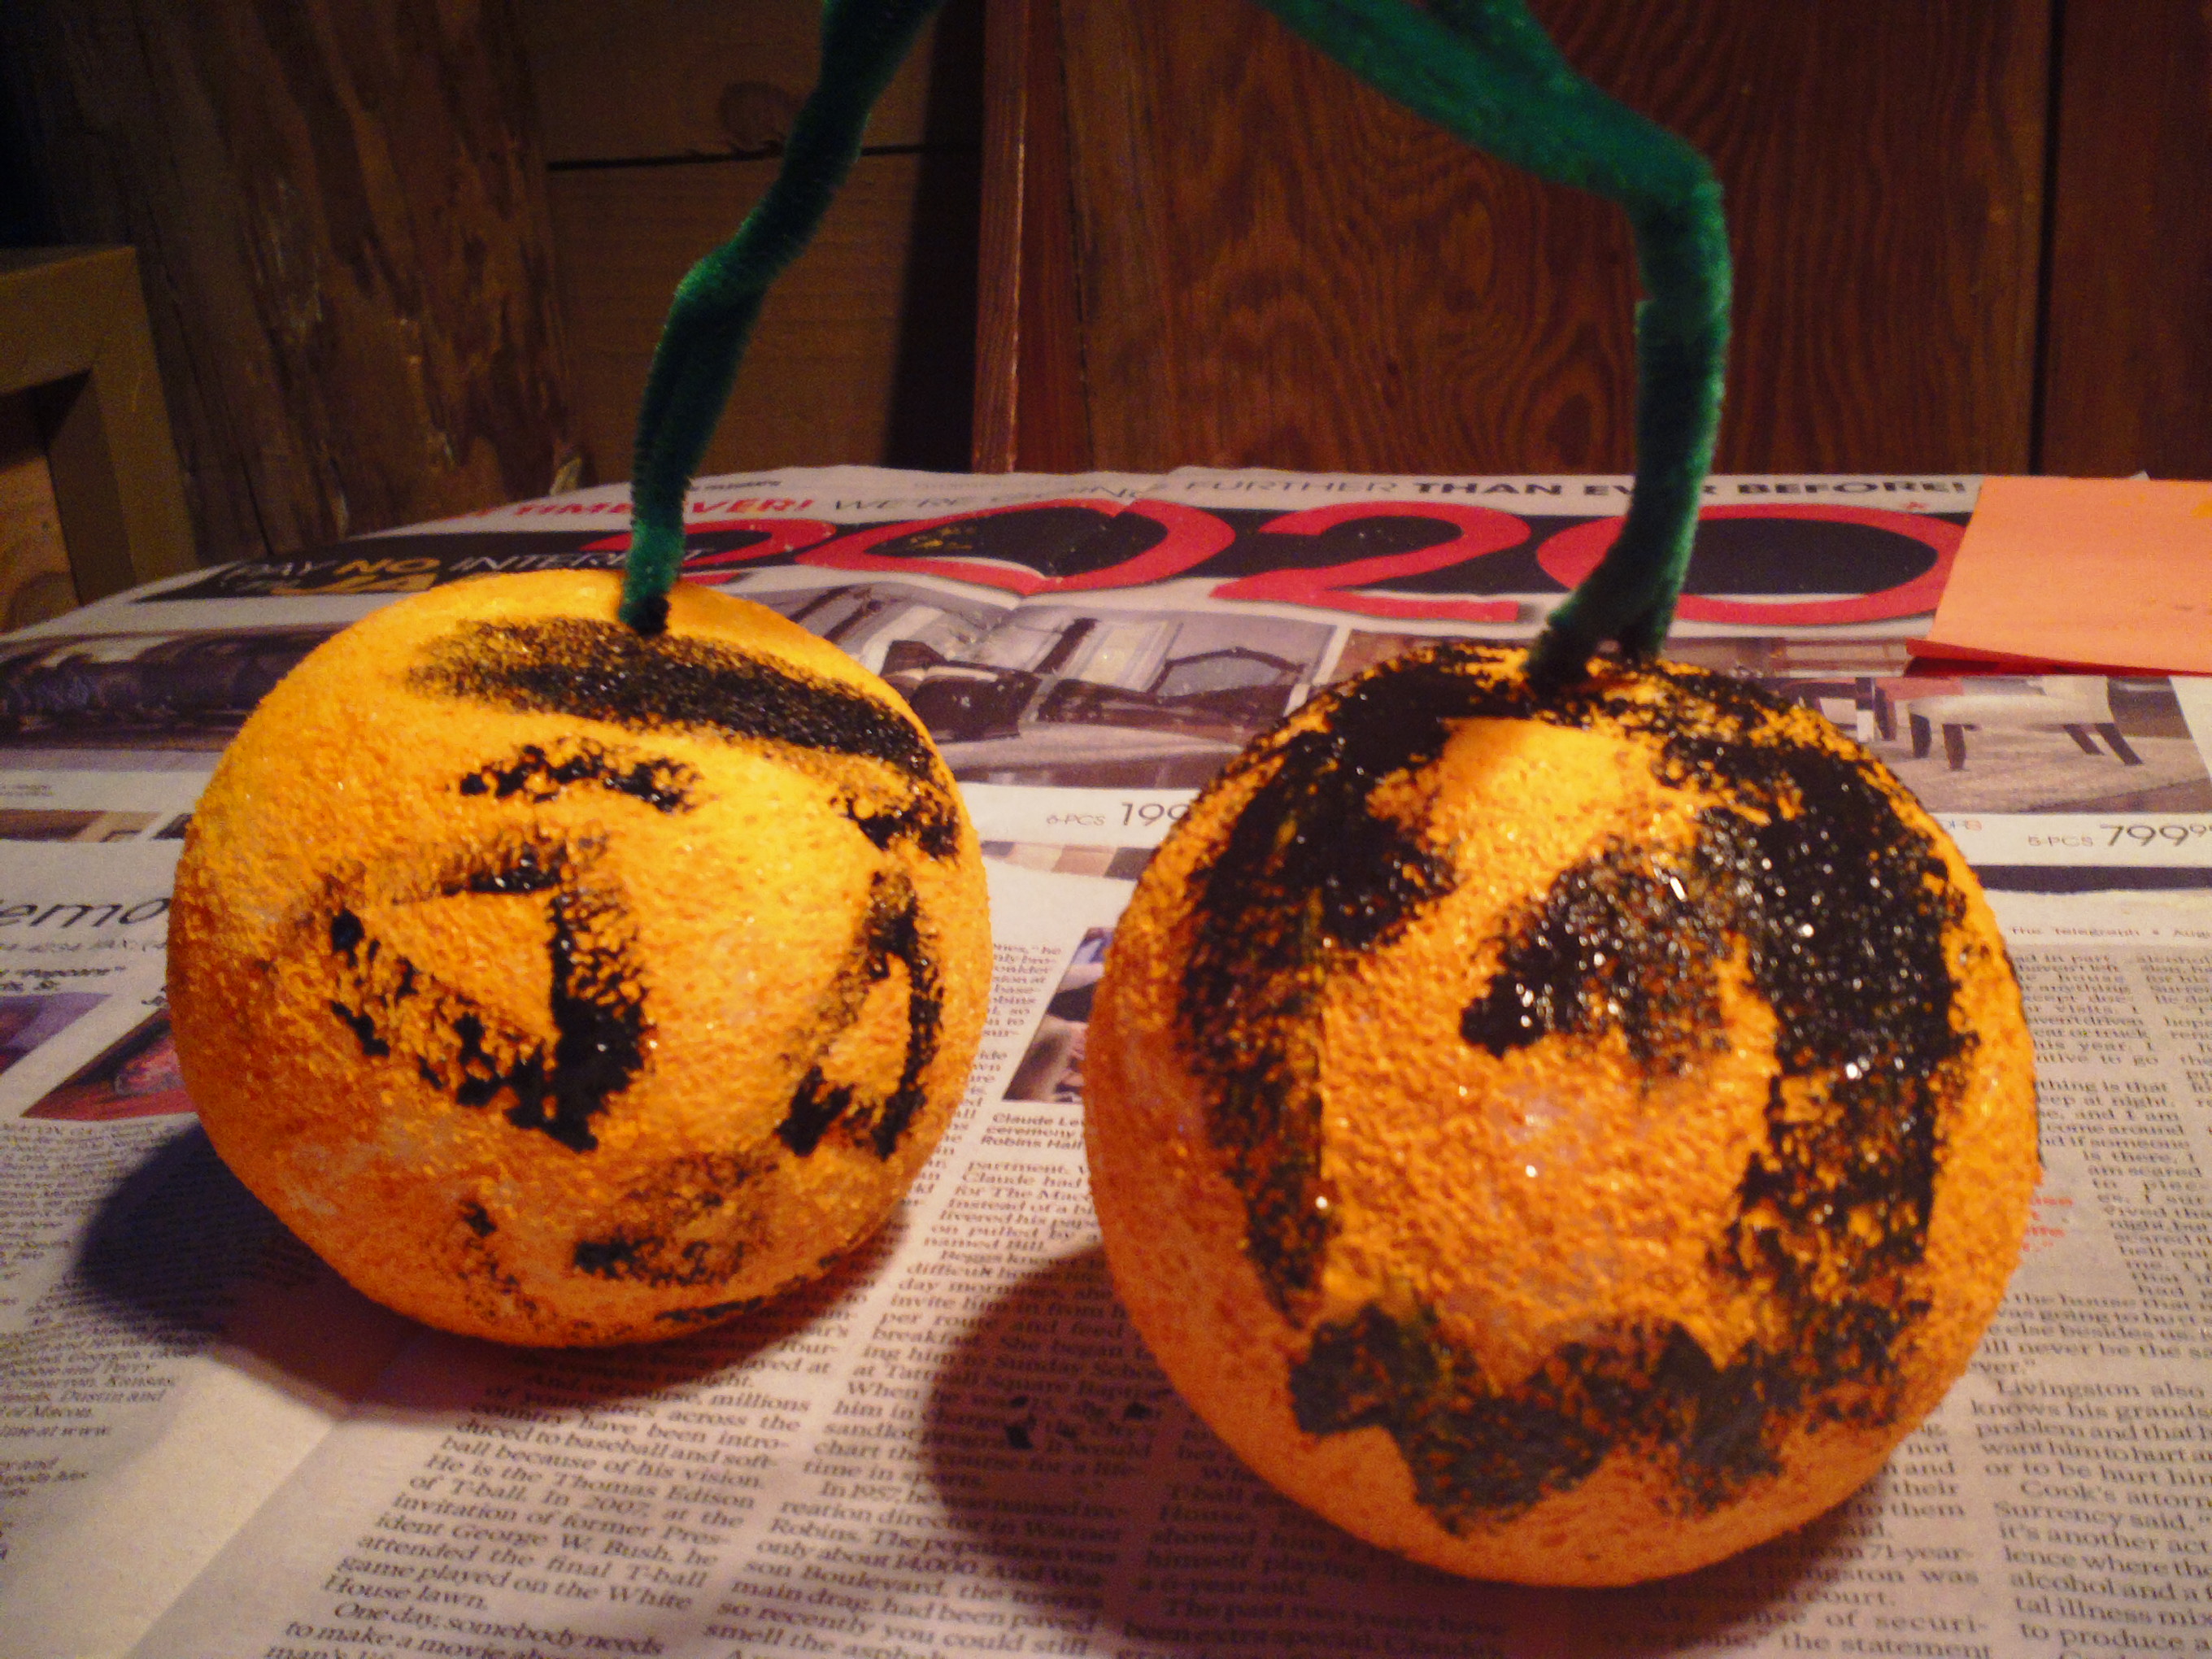
We covered the breakfast room table with newspaper and put on our paint aprons.
I began by showing them a pumpkin and asking them what colors do they see and shape is the pumpkin.
Next I gave them their Styrofoam balls which we pounded on the table to flatten the bottom and the top.
Painting is the next step. They were given a paintbrush each and shared the orange paint, no water because there was no need to rinse the brush. Older children could be given yellow and red and orange and a cup of water for rinsing the brush and a sponge to dry the brush. The ball could be painted orange with yellow paint spattered on and red painted for shading in the grooves of the pumpkin.
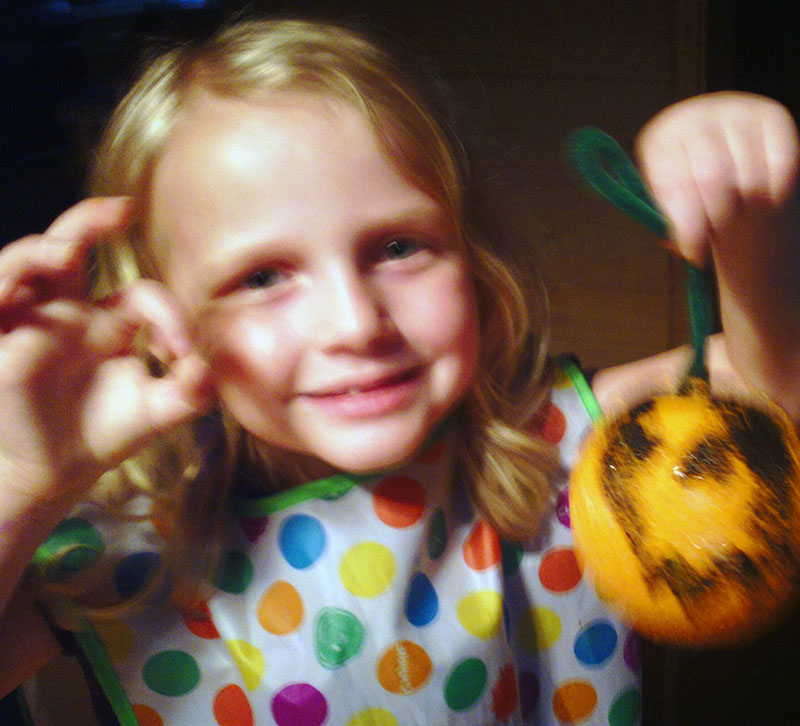
After the orange paint dried, we looked at jack o’lanterns to see what shapes to use to paint the face of the jack o’lantern. The children and I painted our jack o’lantern faces with black paint.
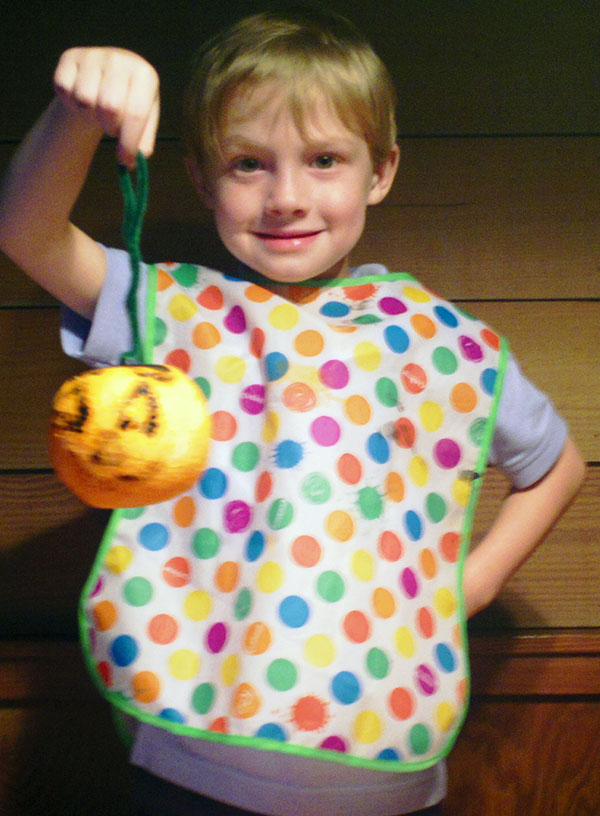
When thoroughly dry, we fold the green chenille stems in half and twisted them to look like the stems on the pumpkin and inserted the stems into our jack o’lanterns.
Lots of fun for a rainy afternoon activity!! Mizz Mac
For more easy Halloween art projects, visit my store on www.teacherspayteachers.com/store/Gena-Mcwilliams.